
Introduction
Picture this: it’s pouring outside, you’re curled up with a hot cup of tea… and suddenly, drip… drip… drip. That tiny leak in your ceiling just turned into a big headache.
The truth is, your roof works harder than you think. It shields you from rain, heat, and everything in between—but even the toughest roof needs a little help. That’s where roof waterproofing comes in.
In this post, we’ll talk about easy and effective waterproofing techniques, why waterproof cement is a game-changer, and how you can make your roof last for years without nasty surprises.
What is Roof Waterproofing and Why Should You Care?
Think of roof waterproofing as giving your roof a superhero suit. It’s a layer of protection that stops water from sneaking in and causing trouble.
Why it’s worth it:
- Stops leaks before they start
- Keeps your walls and ceilings dry and mold-free
- Adds years to your roof’s life
- Saves you money (because emergency repairs are expensive!)
What’s the Best Material for Roof Waterproofing?
If you’ve ever been overwhelmed at the hardware store, you’re not alone. Here’s a quick breakdown so you know what works best:
- Waterproof cement – Super strong and moisture-resistant. Honestly, it’s one of the best cement for waterproofing flat roofs and terraces.
- Acrylic coatings – Flexible, easy to apply, and perfect for sunny or rainy weather.
- Bitumen membranes – Tough and budget-friendly for flat roofs.
- Polyurethane membranes – A premium choice that covers every nook and cranny.
| Material Type | Durability | Best For |
| Waterproof Cement | High | Concrete roofs, terraces |
| Acrylic Coating | Medium | Sloped or metal roofs |
| Bitumen Membrane | High | Flat roofs |
| Polyurethane Membrane | Very High | Complex roof shapes |
How to Waterproof a Roof (Without the Stress)
Here’s the simple step-by-step:
- Start with a clean slate
- Sweep away dirt, moss, and debris
- Fill in any cracks so the waterproof layer sticks properly
- Sweep away dirt, moss, and debris
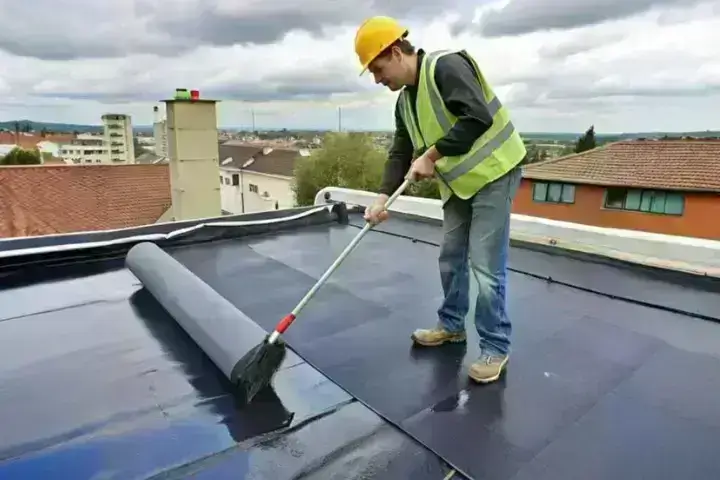
- Lay down the protection
- Use waterproof cement or a good-quality coating
- Go for more than one layer—better safe than sorry
- Use waterproof cement or a good-quality coating
- Seal the tricky spots
- Joints, corners, and drainage areas are leak hot-spots—give them extra care
- Joints, corners, and drainage areas are leak hot-spots—give them extra care
- Keep an eye on things
- A yearly roof check-up can save you from a big mess later
- Reapply your coating when it starts wearing down
- A yearly roof check-up can save you from a big mess later
DIY or Call the Pros?
You can do it yourself, but be honest—are you ready to spend a weekend on the roof?
If you go the DIY route:
- Get the best cement for waterproofing or top-grade coatings
- Work on a dry, not-too-hot day
- Follow instructions like your roof depends on it (because it does!)
- Use safety gear—slips are no joke
Sometimes hiring a pro is worth it for the peace of mind.
How Long Will It Last?
Here’s a quick guide:
- Waterproof cement coating – 7–10 years
- Bitumen membrane – 5–8 years
- Polyurethane membrane – 10–15 years (with TLC)
Pro tip: A five-minute inspection once a year can extend your roof’s protection way beyond the average.
Signs Your Roof is Crying for Help
Don’t wait until there’s a puddle in your living room. Look for:
- Brown stains on your ceiling
- Damp or peeling paint
- A musty, moldy smell
- Visible cracks on the roof
Final Thoughts & Call-to-Action
Roof waterproofing isn’t just a “rainy season project”—it’s an investment in your home’s comfort and safety. Using reliable materials like waterproof cement and getting the job done right means fewer leaks, fewer repairs, and more cozy evenings inside when the weather turns.
Your roof won’t protect itself—show it some love! Call a roofing expert today and choose the best cement for waterproofing so your home stays dry and worry-free for years to come.
